Block Tower Skill & Section Tier List
Prioritize the movement skills and obstacle types that decide whether you clear the house tower.
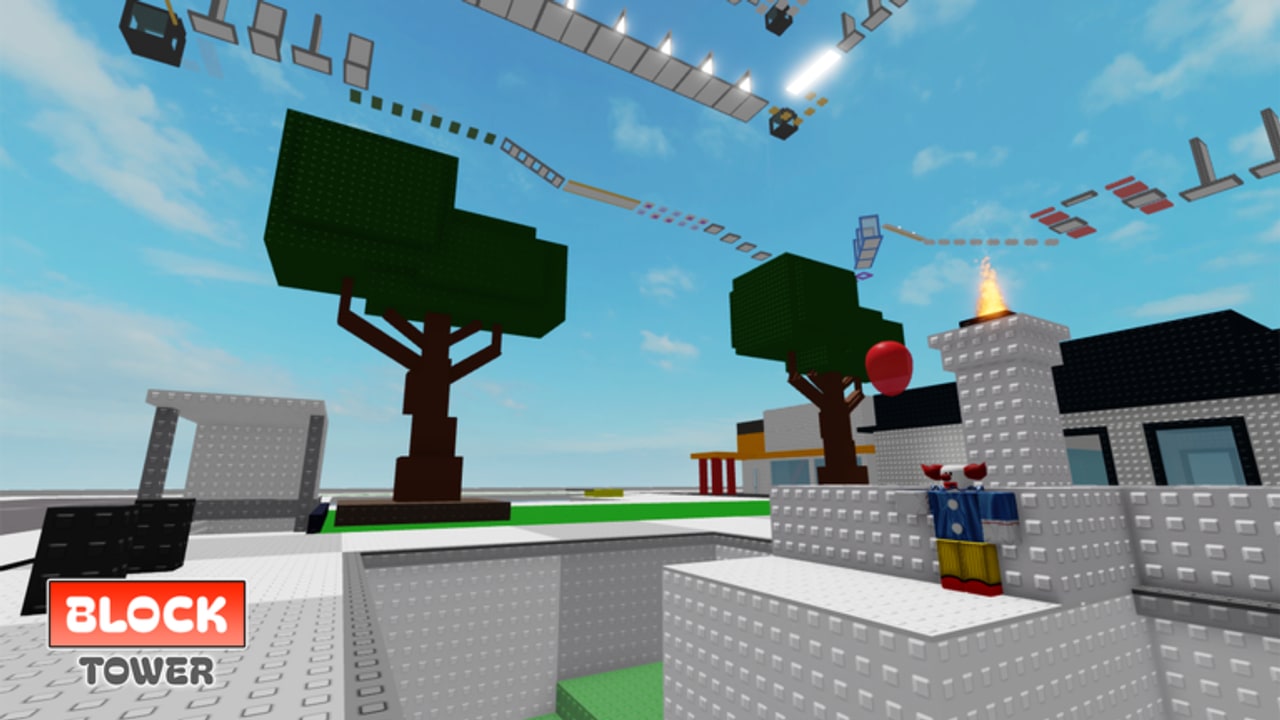
This is not a character or unit tier list — Block Tower has no gacha roster. Instead, this Difficulty Tier List Hub ranks the movement skills and section types that matter most while climbing the Brookhaven-style house tower by fahrezaoz. Use it to decide what to practice first, what to respect mid-run, and which habits belong in S tier forever.
Pair this page with Climbing Tips, Controls, and the How to Complete strategy guide. New players should skim Getting Started before grinding ranked skills in isolation.
Ranking criteria
| Tier | Meaning |
|---|---|
| S | Master early — saves the most retries across the whole tower |
| A | High impact on hard floors; practice weekly |
| B | Situational but clutch when the section appears |
| C | Helpful polish; less vital than basics |
| D | Low priority or actively harmful if overused |
Ranks reflect a solo-friendly online climb on PC, mobile, or console. Crowded 40-player servers can make some A-tier skills feel S-tier (for example bump awareness).
Movement skills tier list
S tier — non-negotiable
- Controlled jump timing — Press jump at the edge you intend, not early panic taps. Most fails on stairs and ledges are mistimed jumps, not “impossible” geometry.
- Camera ownership — Orbit the camera so the next landing is visible before you commit. Blind jumps create D-tier gambling.
- Fail recovery mindset — After a death or fall, reset camera, walk back calmly, and retry the same micro-section. Tilt ruins S-tier fundamentals.
A tier — win hard floors
- Shift Lock discipline (PC) — Lock for narrow beams and wraparounds; unlock when you need freer look-around on open roofs.
- Strafe micro-adjustments — Tiny A/D or stick taps while airborne to center on platforms.
- Kill-brick reading — Spot red / hazard parts before the jump arc begins, not mid-air.
B tier — clutch tools
- Wraparound alignment — Line your avatar parallel to the wall before the sideways hop.
- Momentum conservation — Keep light forward movement on multi-jump chains instead of full stops every pad.
- Server hop for focus — When mid-tower traffic is chaotic, changing servers is a valid skill, not a cop-out.
C tier — nice polish
- Emote / idle pauses on safe ledges to plan the next three jumps.
- Friend spectating callouts — useful, but do not depend on them for every clear.
- Cosmetic flex mid-climb — fun, zero clear rate impact.
D tier — avoid or deprioritize
- Spam jumping against walls hoping friction saves you.
- Looking straight up while crossing beams (you lose depth perception).
- Relying on scripts / TP — see Scripts; bans beat badges.
- Rage restarts after one fail — wastes warm-up you already earned.
Section types tier list
S — thin beams & long precision walks
Narrow paths punish camera drift and sideways overcorrection. Practice slow walks with Shift Lock, then add jump gaps only after your feet stay centered.
S — kill brick gauntlets
Any stretch where a single touch resets progress deserves full attention. Pause on the last safe block, trace the safe color/path, then commit.
A — wraparounds
Corner hops around house walls feel unfair until your avatar faces the correct axis. Line up, short hop, land, re-center camera.
A — jump timing towers (stacked pads)
Vertical pad stacks need rhythmic jumps. Count the beat; rushing the second jump early is the common fail.
B — moving or busy multiplayer platforms
Shared landings near popular midpoints. Wait a second for traffic to clear rather than jumping into someone else’s landing frames.
B — easy stair / furniture climbs
Low threat but great warm-ups. Use them to rebuild confidence after a hard fail higher up.
C — wide rooftop runs
Forgiving floors that still need straight-line focus. Do not get careless — C sections become fails when you sprint mindlessly.
D — “skip” attempts into void
Trying to cheese past intended routes into empty space. Learn the line; the tower is designed as a path, not a freestyle parkour sandbox.
Practice order for faster clears
- Spend a session only on camera + jump timing near the base (Controls).
- Drill thin beams until you can cross without looking at chat.
- Add wraparounds and kill-brick reads from Climbing Tips.
- Run a patient full attempt with How to Complete.
- After a clear, chase Badges without changing your fundamentals.
How this list changes in beta
Block Tower remains beta. A patch can retune a kill part or widen a beam. When the Roblox page shows a fresh update bump, re-test your S-tier assumptions — especially hazard placements. Track cadence on Updates and confirm you are in the correct place via Official Links.
Skills transfer well to Block Tower 2 (school) and Block Tower 3 (hospital) by the same creator, but section art and trickiness differ. Rank the skills, then re-scout each sequel’s unique floors.
Related reading
- Guides Hub — all tutorials
- Players — creator and community context
- Codes — no active codes; do not chase fake “tier unlock” codes
Master S-tier habits first. Everything else in the house tower becomes readable once your camera and jump timing stop fighting you.
Frequently Asked Questions
Quick answers about climbing Block Tower.
Is this a character tier list?
No. Block Tower has no character roster. This ranks movement skills and section types that affect clear rate.
What should I practice first?
S-tier fundamentals: controlled jump timing, camera ownership, and calm fail recovery before specialty tricks.
Why are thin beams ranked so high?
They appear throughout the tower and punish small camera errors, so beam control saves the most retries overall.
Do scripts count as S-tier skips?
No. Scripts are D-tier risk. They violate Roblox ToS and are covered on the Scripts Hub as a warning, not a strategy.
Will the tier list change after updates?
Beta patches can alter hazards or geometry. Recheck hard sections after updates listed on the Updates Hub.